/* CAT(1) */
As my spawn has gotten a little older, I've gotten the opportunity to relive some of my childhood and indulge in LEGO's again! We've only got a few sets and individual characters, but we've already ran out of space on my server rack and the wife demanded we do something...so, something we did!
*EDIT - 16FEB2016*
This post has been updated to reflect some changes I've since made, specifically I swapped to controllable LEDs and bracing for the lights as the backing didn't really stick to the plastic. I've updated parts of it to reflect and colored the old, now inaccurate, parts red; but I've left them incase someone finds it useful or the pictures helpful.
Before we get into it, I will say that I only have a camera phone and it, for various reasons, would not give me a half-way decent photo of the finished product. Colors don't show up the same on the phone and you can't even really see the figures too well. It looks so much different in real life that it kind of annoys me but, c'est la vie.
I looked at a lot of LEGO shadowboxes online before starting this project and really liked the idea of using them as displays. As I went through them, I made a list of requirements that our own box would need to meet.
- Needed to be functional in that we could take off figures and play with them throughout the day fairly easily
- Needed to be made purely out of LEGO's - this is a personal choice but it felt more "true" to build it out of LEGO's, along with opening up multiple design and decoration choices
- Needed to be cheap
- Needed to be something we could build together (aka fairly kid-friendly)
- Needed to support LED lighting
Given those requirements, I think we nailed it and had a lot of fun in the process.
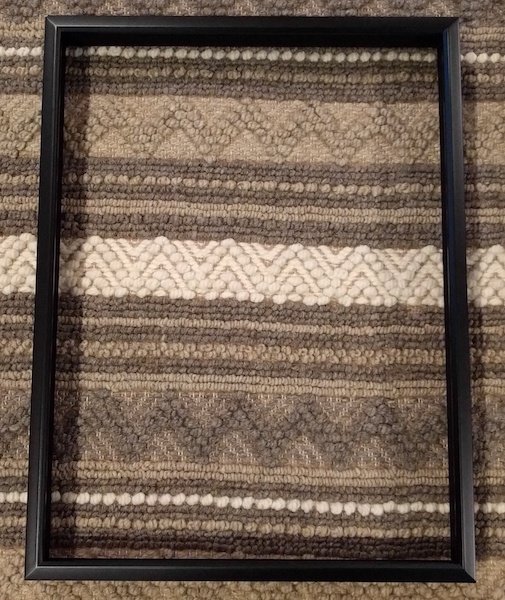
The first thing we needed before we did anything was the actual shadowbox frame. For this build, I went to Michael's (craft store) and found this nice 18x24" Studio Décor Shadowbox, Black. These craft stores always run 50% off coupons so I was able to pick it up for $30 USD (though looking at the website it's been price dropped from $60 USD to $39 USD so you could now buy it even cheaper).
Structure Design
With the shadowbox in hand I simply canalbized one of the sets we had and laid out the pieces end-to-end, and then subsequently stacking them, to determine the width and height in LEGO terms.
Width: 57 pegs
Height: 63.3 bricks (.3 == 1 plate)
Depth: 6 pegs
To figure out what we needed, I downloaded LEGO Digital Designer and set out to build a structure that was multiple levels, could accomodate varying height figures (eg Hulk), could stand on its own, and wasn't crazy expensive (aka use common cheaper pieces).
Since we've got 57 pegs of space to work with, it worked out perfectly for the design as I could do alternating tiers of 56 pegs. The reason for alternating them will become clear shortly, but effectively it created gaps on either side for our LED strip.
Starting out, I created a base with 4 4x12 plates and 1 4x8 plate (56 pegs) across.
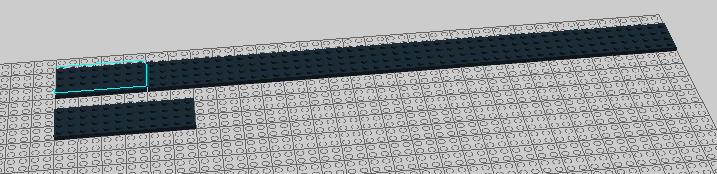
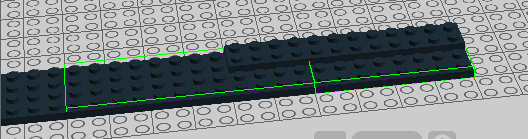
To give it some structural support I laid on top 4 2x12 and 1 2x8 plates, alternating the sides which had the x8 plates so that the x12 plates would overlap them and bind them together.
The next step was to create the side-pillars which will support the entire structure. For the overall build, as you can see in the initial picture, there are 7 tiers. The bottom and top 3 tiers are the same height, with the middle tier being slightly larger to accomodate the bigger pieces. These can be adjusted as needed (lower # of bricks will allow for more tiers) but I opt'd for 8 bricks on the smaller tiers and 10 for the larger.
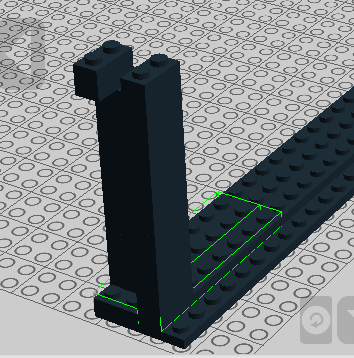
I created a hollow shaft with 8 1x2 bricks in two columns, with the top brick of one column facing the same direction as the other column. This gives a small gap at the very top while also allowing us to support the next tier up with two columns.
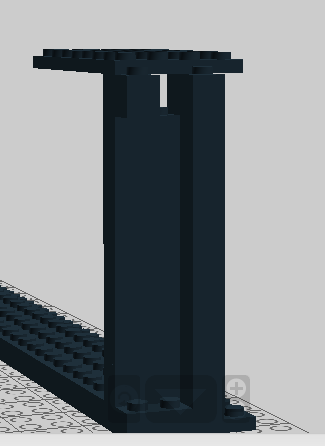
From the front, you can see that due to the alternating length of the tier base, it leaves a small hole.
To cover that unsightly part, I used 1x2/2x2 angle plates which start over the hole on every tier; the other end of the tier you won't see the hole due to the lip of the shadowbox.
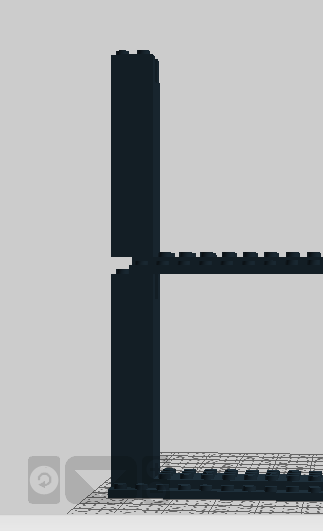
The angle plates are tri-purposed as they also create a lip over each tier, which we can run our LED strip behind, and allow us to decorate the front if we want.

You can build the entire structure like this but in reality, since the tiers are so long, the centers will bend when you apply and sort of weight. I threw in some columns of 8 2x8 bricks on each tier to strengthen it more - these can be seen in the original picture. You can place these wherever makes sense but I tried to keep them fairly central and even.
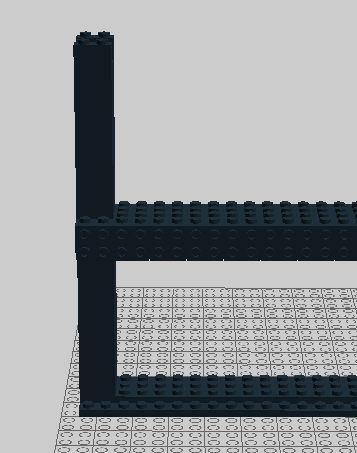
Finally, you can get a gauge of the height of each tier below.

The parts for each small tier:
- 4 4x12 plate
- 4 2x12 plate
- 4 1x12 plate
- 1 4x8 plate
- 1 2x8 plate
- 1 1x8 plate
- 28 1x2/2x2 angle plate
- 48 1x2 brick
- 18 1x4 plate
For a large tier, it's just 60 1x2 bricks.
Part Acquistion
I went onto this awesome website called BrickLink which is like an eBay specifically for LEGO products. What was cool though was that you can add all of your parts that you want to a cart, and then it can automagically find the best way to purchase them based on your input.
In my case, I wanted them to be the cheapest possible price while the lowest amount of purchases (shipping, etc). It narrowed it down to two stores within the USA that had the amount of parts I needed split across them. At this point though, I was having second thoughts about going with a pure LEGO structure. Even with some parts at like $0.08 USD per piece, the sheer number of pieces needed made the price quite high. Most of the shadowboxes I saw used wood across the center with plates hot-glued down; this definitely would have been cheaper but I swallowed the bill and shoveled out another $80 USD (total spent so far - $110 USD).
I ended up buying another tier or two of extras to play around with on the offchance my measuring went awry or I didn't like the look and wanted to change things around. Below are the part numbers and totals I purchased.
Part# 3029 PLATE 4x12 Color 26 Black (4x) = 40
Part# 3035 PLATE 4x8 Color 26 Black (1x) = 10
Part# 2445 PLATE 2x12 Color 26 Black (4x) = 40
Part# 60479 PLATE 1x12 Color 26 Black (4x) = 40
Part# 3034 PLATE 2x8 Color 26 Black (1x) = 10
Part# 3460 PLATE 1x8 Color 26 Black (1x) = 10
Part# 44728 ANGLE PLATE 1x2 / 2X2 Color 26 Black (28x) [-1 level for bottom] = 280
Part# 3004 BRICK 1x2 Color 26 Black (48x or 60x) [6 columns 8x each or 10x] = 380
Part# 3710 PLATE 1x4 Color 26 Black (18x) = 126
Cleaning
Once the parts arrived, I went ahead and cleaned them all although only a handful were truly "dirty"...but god only knows where these things have been.

To clean them, I used a bucket of luke-warm water with some dish soap. I let each batch soak for 1 hour and then used a toothbrush to scrub any that had any gunk stuck to them or needed a little more TLC.
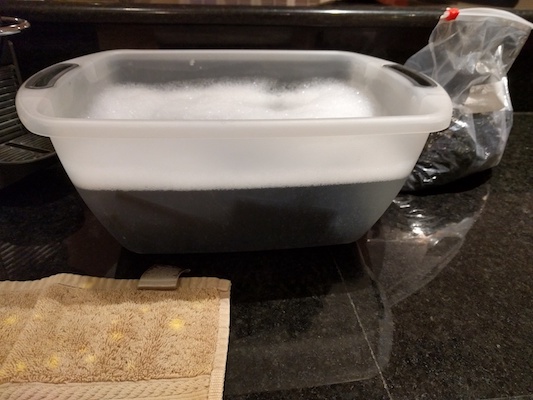
Once they were all cleaned, I left them overnight to air-dry.
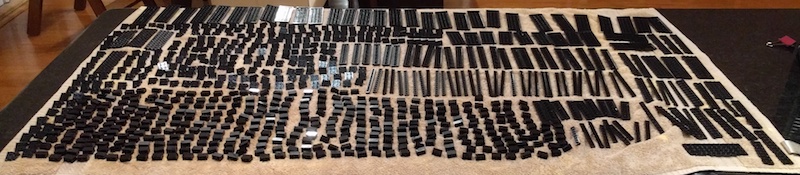
Nothing too crazy but it made a big difference in their looks.
Construction
To validate the design, I built a quick representation of the tiers and made sure it was perfectly flush inside the shadowbox.

Perfect!
Since I'd never worked with LED's, I decided to buy a cheap strip off of Amazon and opted for the Lighting EVER 16.4ft LED Flexible Strip Lights (300 units SMD3528 LEDs, 12V DC). For $8 USD, it's a good price but I ended up taking them out in favor of some adjustable color changing LEDs to give the display more versatility.
*EDIT - 16FEB2017
I went ahead and purchased the StripSun LED Strip Lights SMD 5050 Waterproof 16.4ft 5M 300leds RGB Color Changing Flexible LED Rope Lights with 44Key Remote +12V 5A Power Supply +IR Control Box lights, along with Zitrades 10PCS LED 5050 RGB Strip Light Connector 4 Conductor 10 mm Wide Strip to Strip Jumper. Effectively, it lets you cut the strips into the exact lengths needed and easily connects the LED strips (which also come with a remote/IR/power). It was a worthy investment and looks FANTASTIC!
I found a 12v power supply I had laying around from some old router and nipped the end of it off.

Next, I cut the LED strip (they have lines every 3 lights with scissors to indicate where to cut) and soldered the positive (red) and ground (black) wires to the LED strip. Yes, I know I suck at soldering.
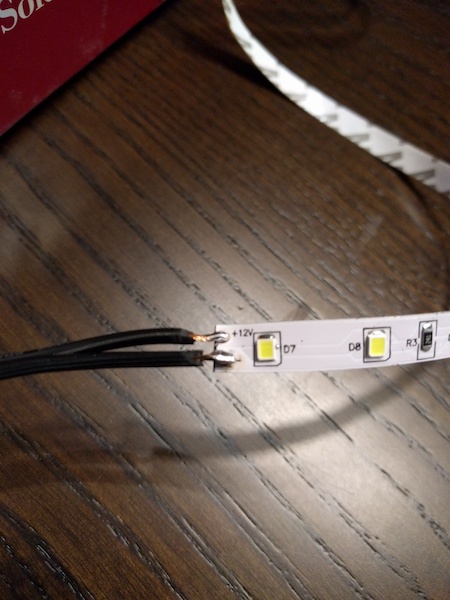
After that, I wrapped them in electrical tape and plugged them in to validate the entire strip worked.

Ez-pz!
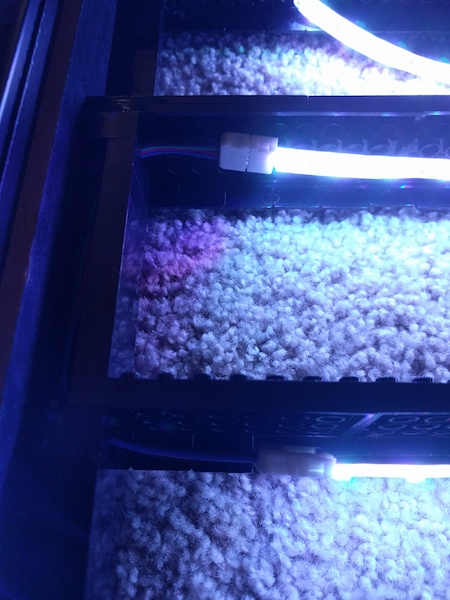
I had already torn down the previous structure (derp) so I rebuilt two tiers to just tape the lights onto some tiers and make sure it had the desired effect.
*NOTE* In hindsight, I realize now looking at this picture that the columns are only 6 tall instead of 8, which places the lights really close to their head. Not an issue but just FYI if you're wondering why it looks that way.
The last thing to do before putting it all together was to take the glass out. This last requirement was fairly straight forward - 1) tape glass 2) break glass.
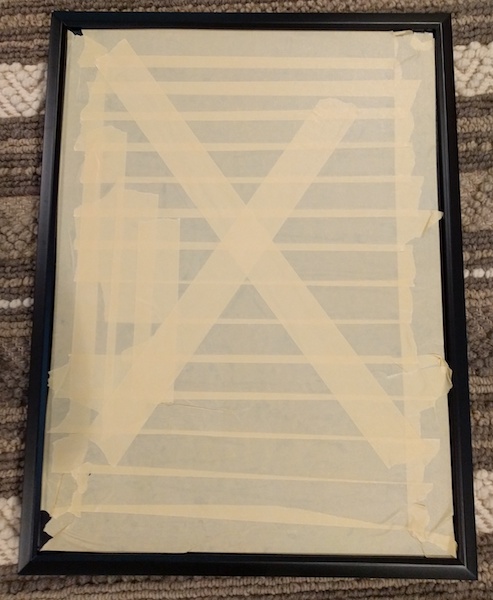
*NOTE* In hindsight on this one as well, I should have taped both sides of the glass and used more cross-taping.
Finished Product
When you build the structure, I highly recommend starting at the top and working your way down. I can't stress enough that this is a *exact* fit in the shadowbox and once it's complete, it's extremely tight. To get the bottom in, you'll need to connect the columns at an angle and then slide in. It's kind of a pain to be honest and my fingers won't forgive me anytime soon.
Once it's in place, you can snake the LEDs through the columns we created on each side. Below shows how that looks from behind with the old LED's before I switched to individual strips for the color changing ones. The wires still snake through the columns but it looks much cleaner.

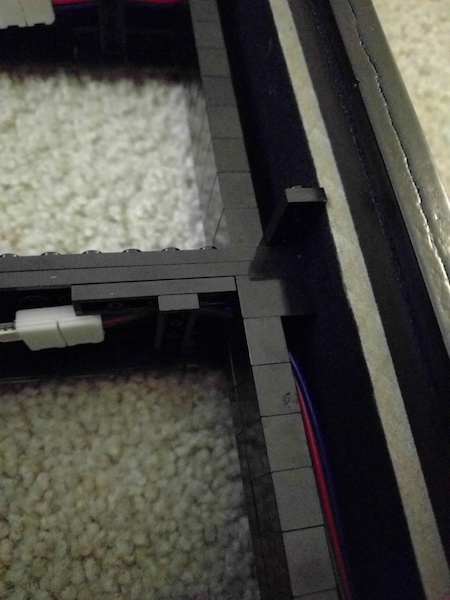
Below is a picture with the new LED's connected to validate they work. The subsequent picture shows how I used the 1x4 PLATE's to brace the LED's. Each section has two of these braces (for a total of 6 each tier) and it keeps the light pinned to the roof while sticking to the LEGO theme.
Updated brace...
With the back off it will look something like the below, with each tier hiding a strip of lights at eye-level. You'll also note how bad the LED tape is, which is why I ended up making the braces later on.
Finally, throw the back on and you're set!
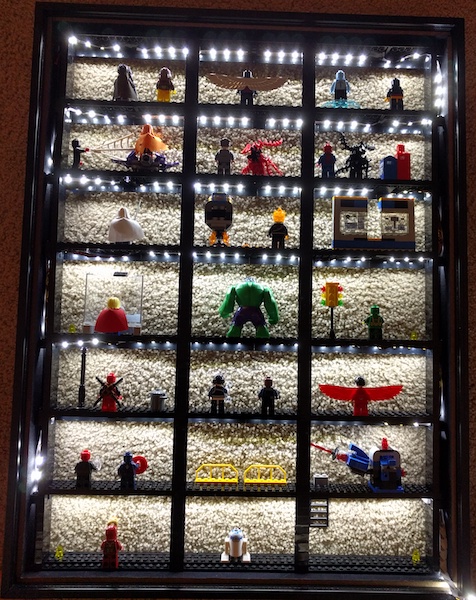
This first image is with the original lights and shows how you can use the LEGO base and front to connect additional pieces, incase you wanted to spruce up your shadowbox with other parts.
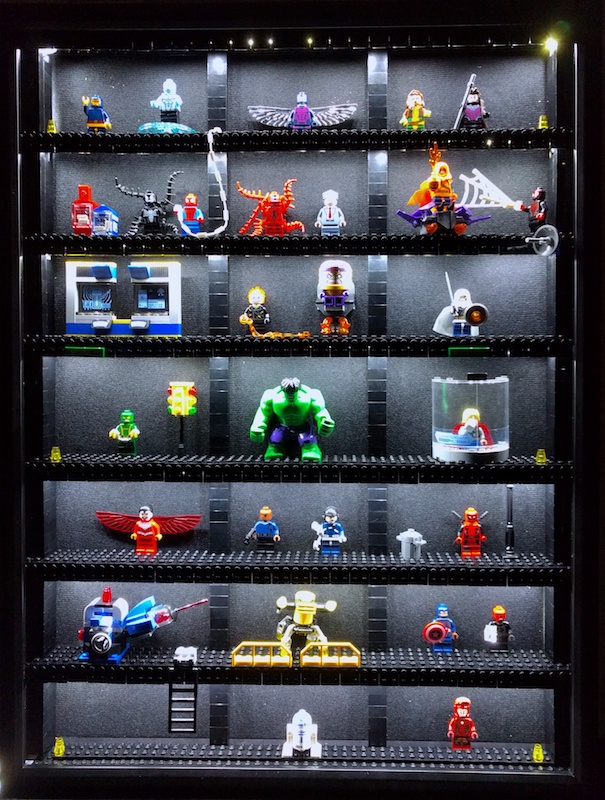
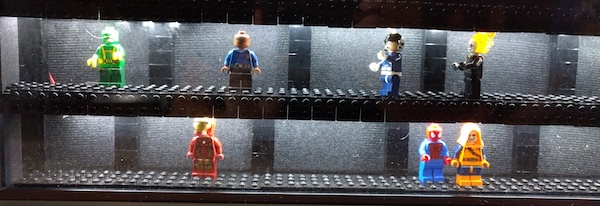
The next few images are with the updated LED's and show some of the various colors and how they affect the overall look of the figures.
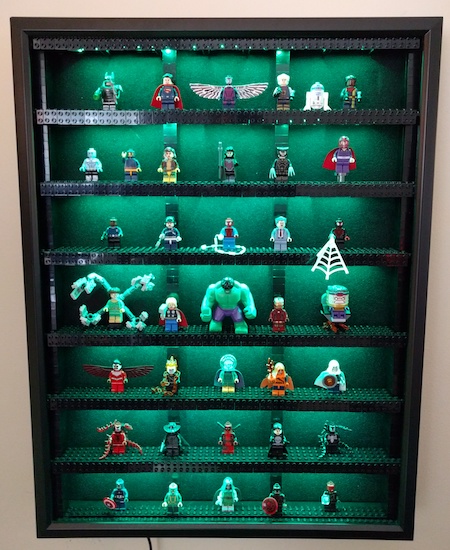
Green
Red
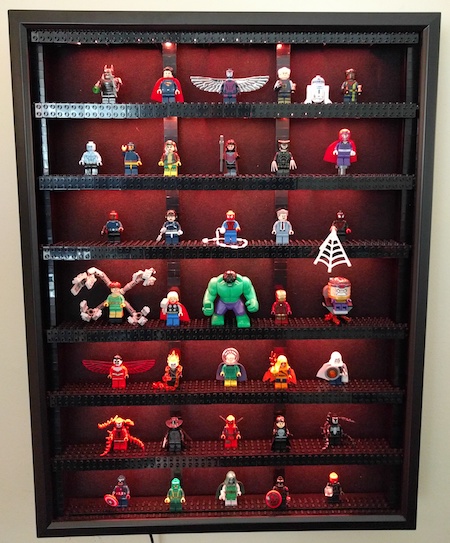
The characters with flames or heavy red look really great under this color, but not my cup of tea for the entire thing.

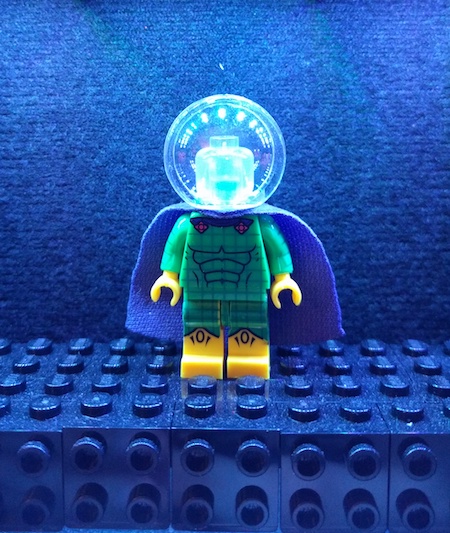
Cool effect with Mysterio and the lights above him.
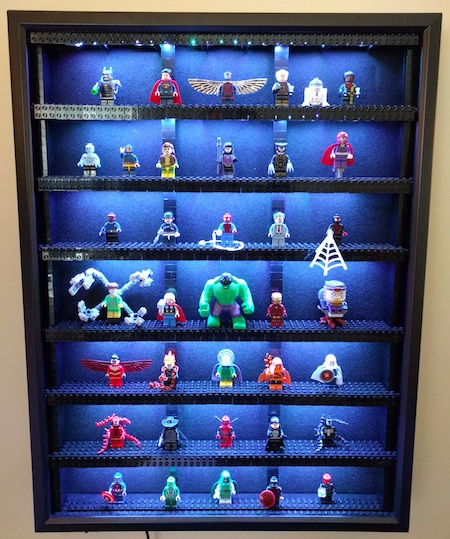
A nice light blue glow, which is generally what we've left it on, across three Avengers, and is shown in full in the original image.

Finally, the below GIF shows me flipping through some of the colors at full brightness; I usually have the brightness lowered but it shows up better on this video like this. It's a bit shaky as I was holding the phone and changing colors on the remote, so I apologize in advance!

All in all, a fun project and worth every penny!
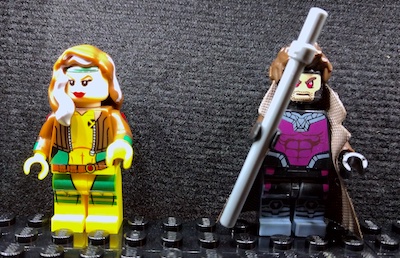
Until next time True Believers...this is Gambit and Rogue signing-off!